Products
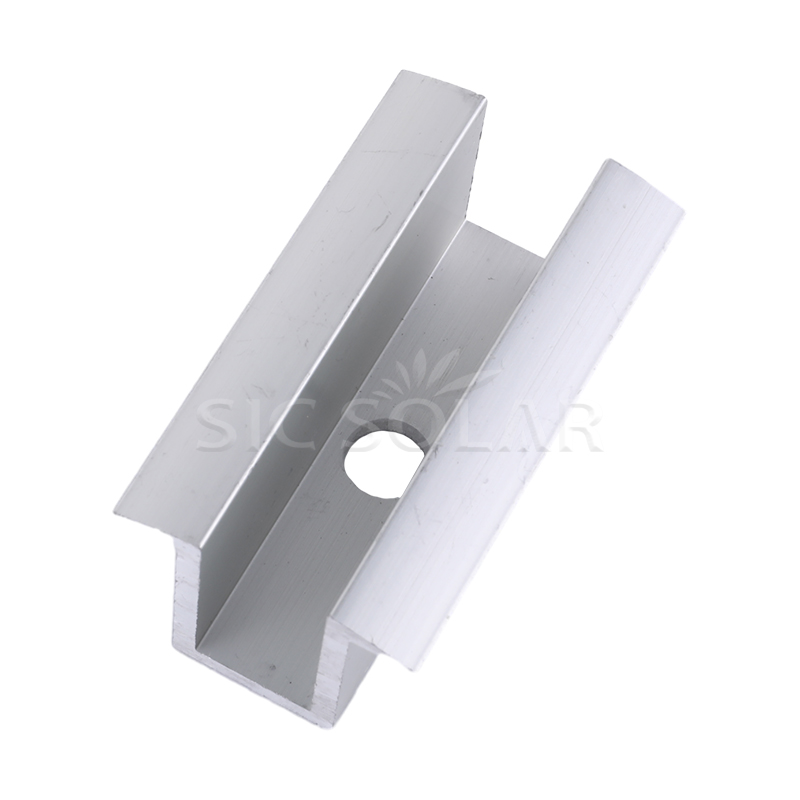
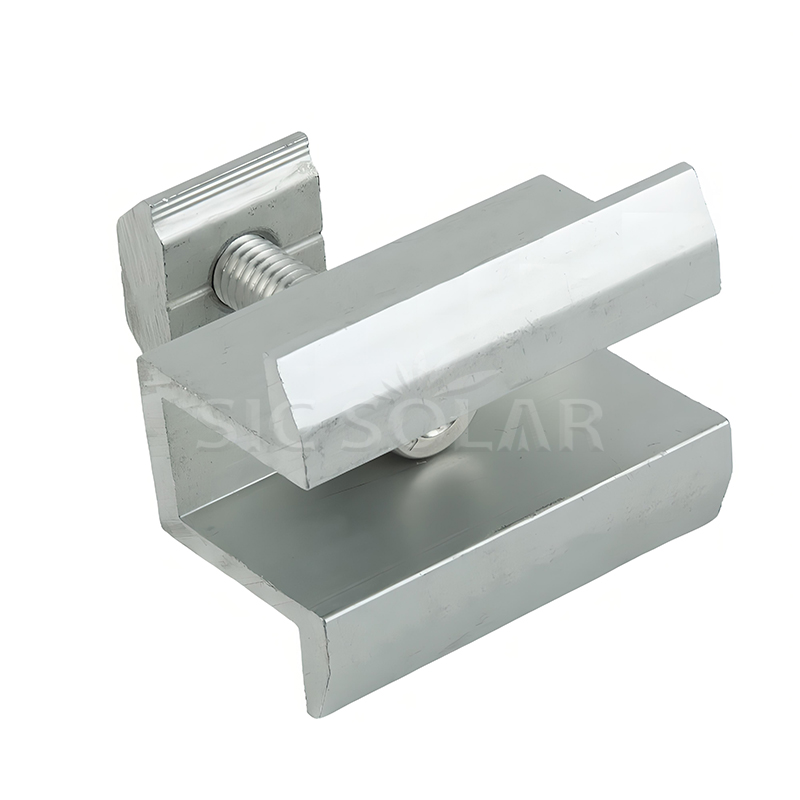
Aluminum Solar Mounting Mid Clamp
  • Aluminum Solar Mounting Mid ClampAluminum Solar Mounting Mid Clamp
  • Aluminum Solar Mounting Mid ClampAluminum Solar Mounting Mid Clamp
  • Aluminum Solar Mounting Mid ClampAluminum Solar Mounting Mid Clamp
  • Aluminum Solar Mounting Mid ClampAluminum Solar Mounting Mid Clamp

Aluminum Solar Mounting Mid Clamp

Model:SIC-IC-W
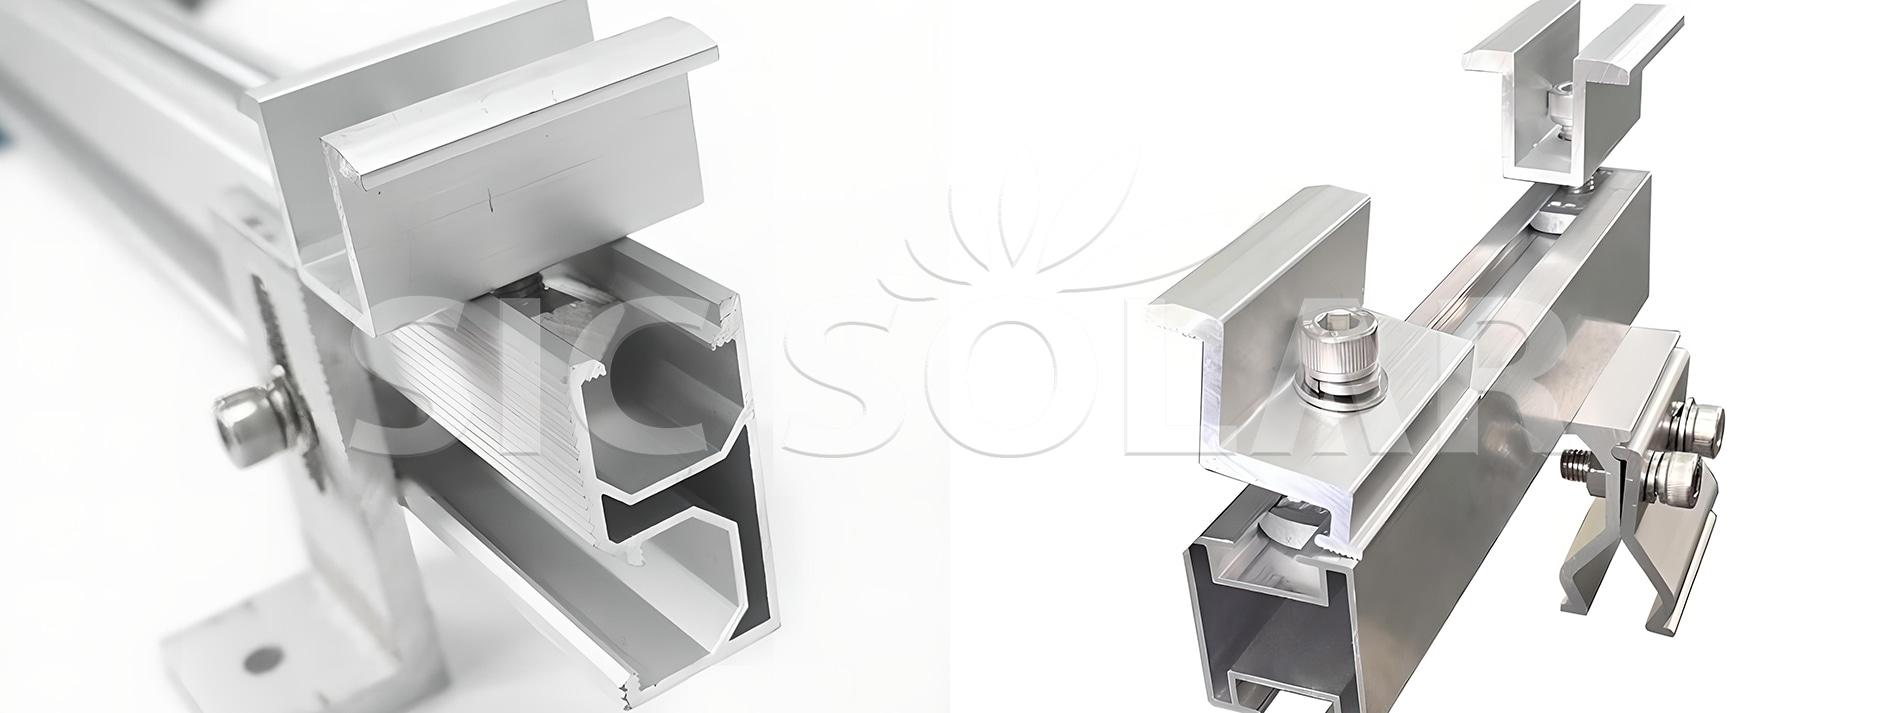
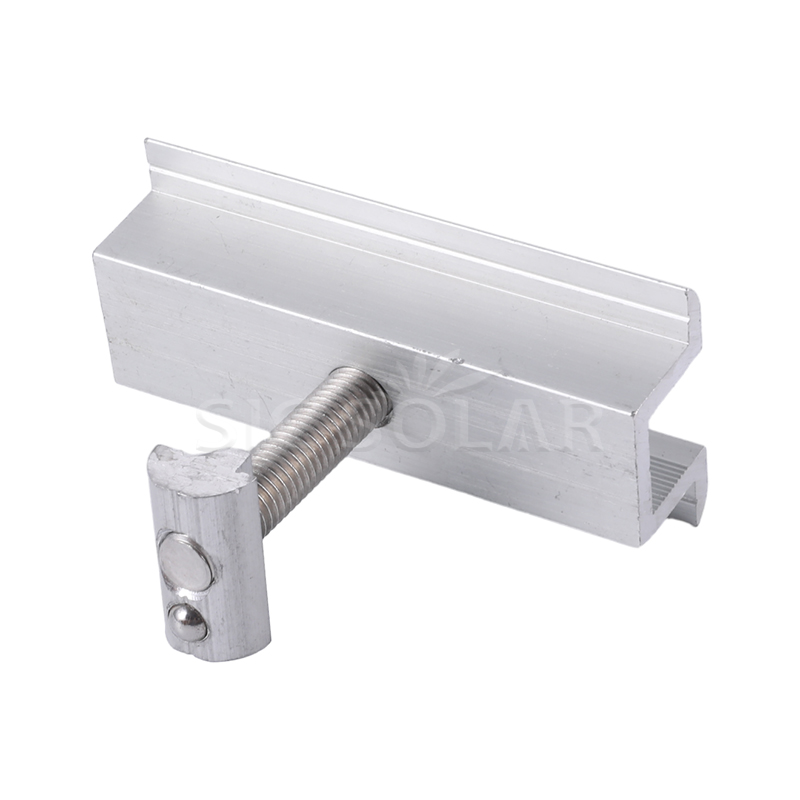
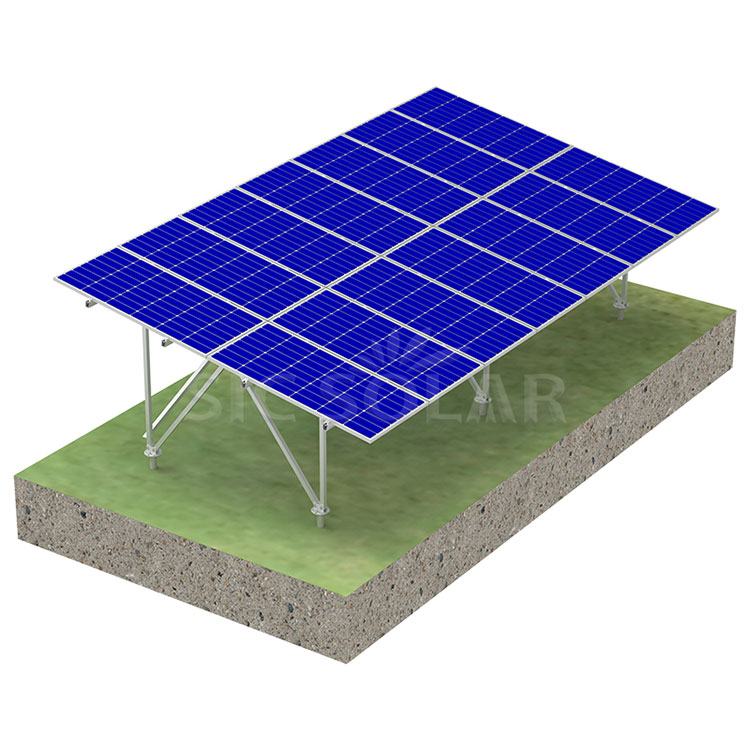
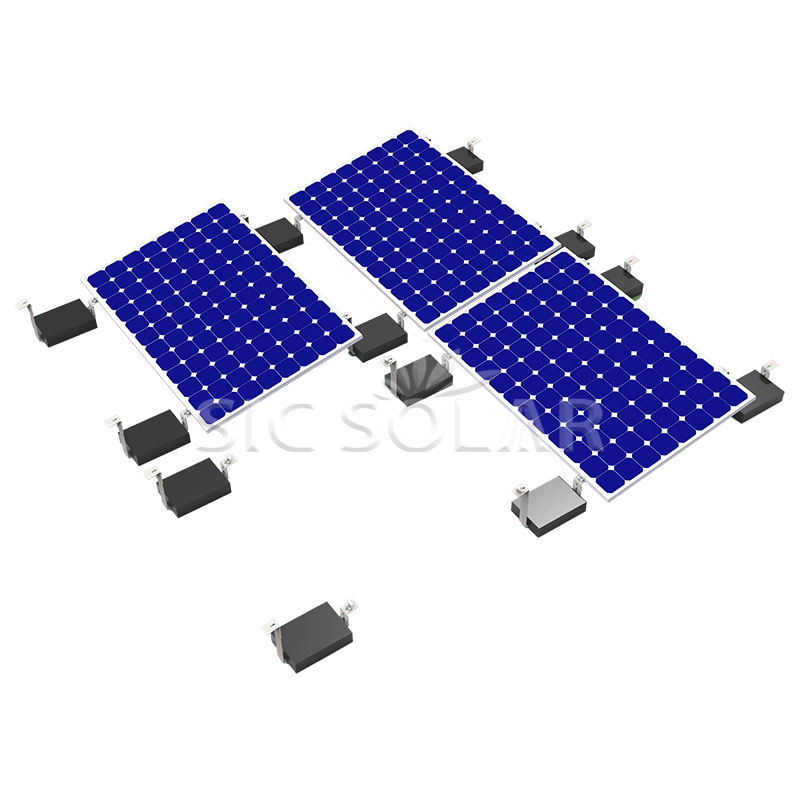
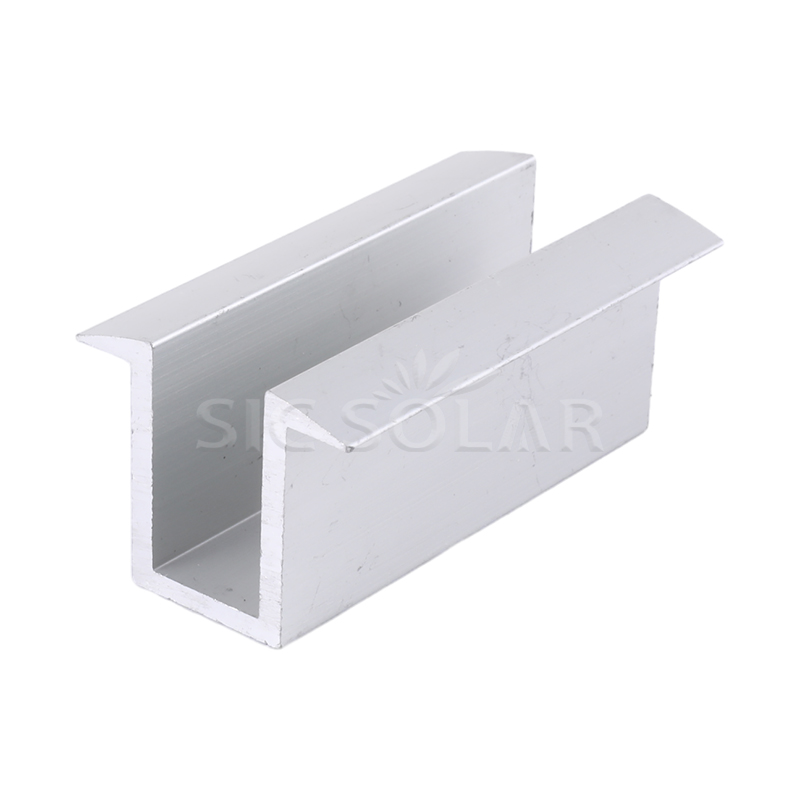
Aluminum Solar Mounting Mid Clamp nestled between two solar panels, it’s not just a piece of metal; it’s the sturdy backbone that keeps everything in place. With its robust grip, it ensures those panels don’t budge an inch, even when the wind howls or the sun blazes. Crafted from a tough anodized aluminum alloy and paired with corrosion-resistant stainless steel hardware, it’s built to last—like a trusty old friend.

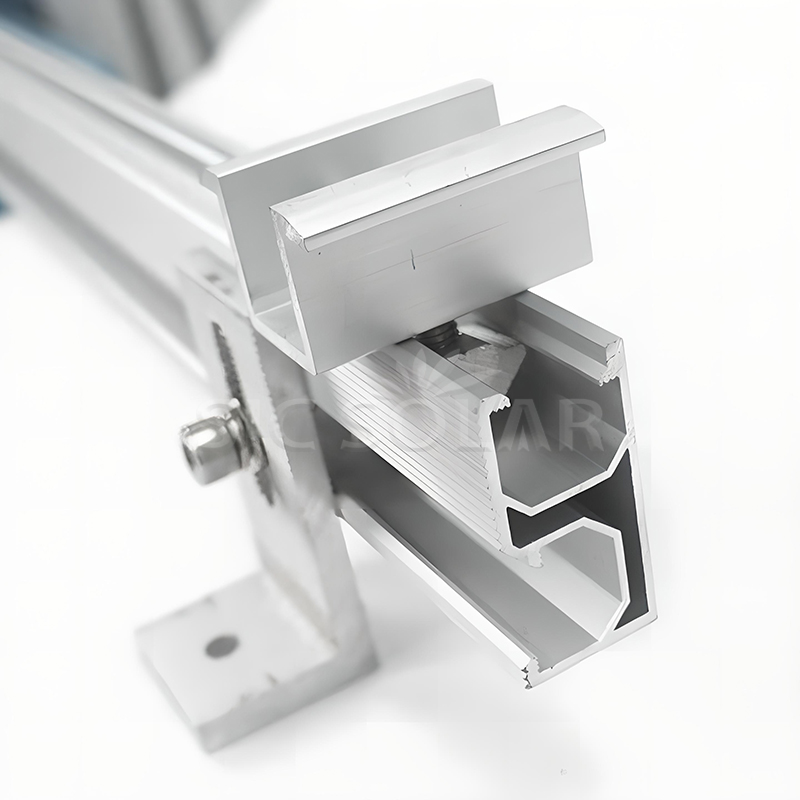
Aluminum Solar Mounting Mid Clamp is that crucial link—sitting snugly between adjacent photovoltaic modules, it connects the panel frames to the mounting rail, all while keeping that essential gap intact. Imagine the chaos if those panels started dancing around—thanks to this clamp, that’s a worry of the past. Lightweight yet mighty, it’s a breeze for installers to handle, and its mechanical prowess promises unwavering support for years to come.
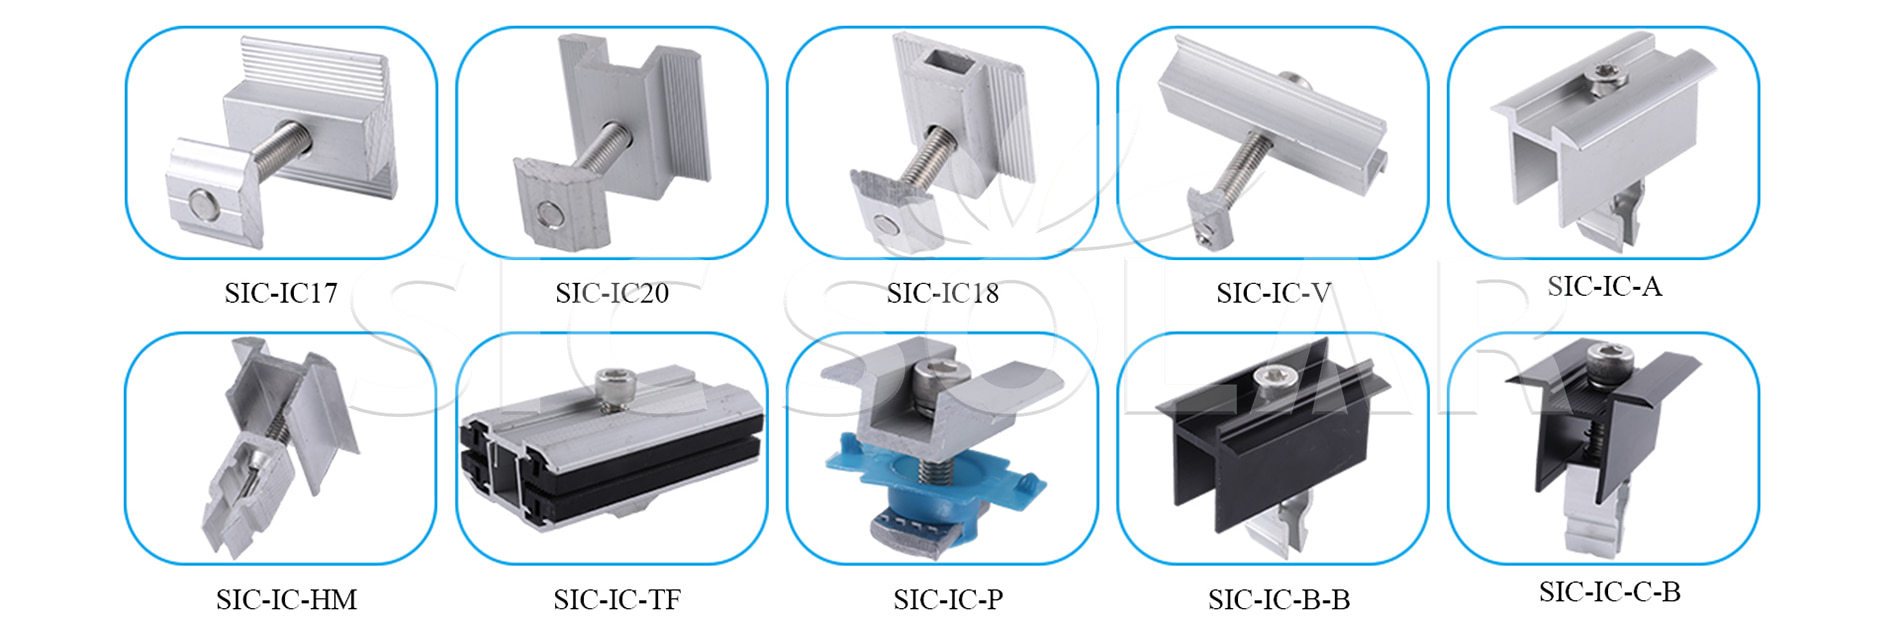
Components

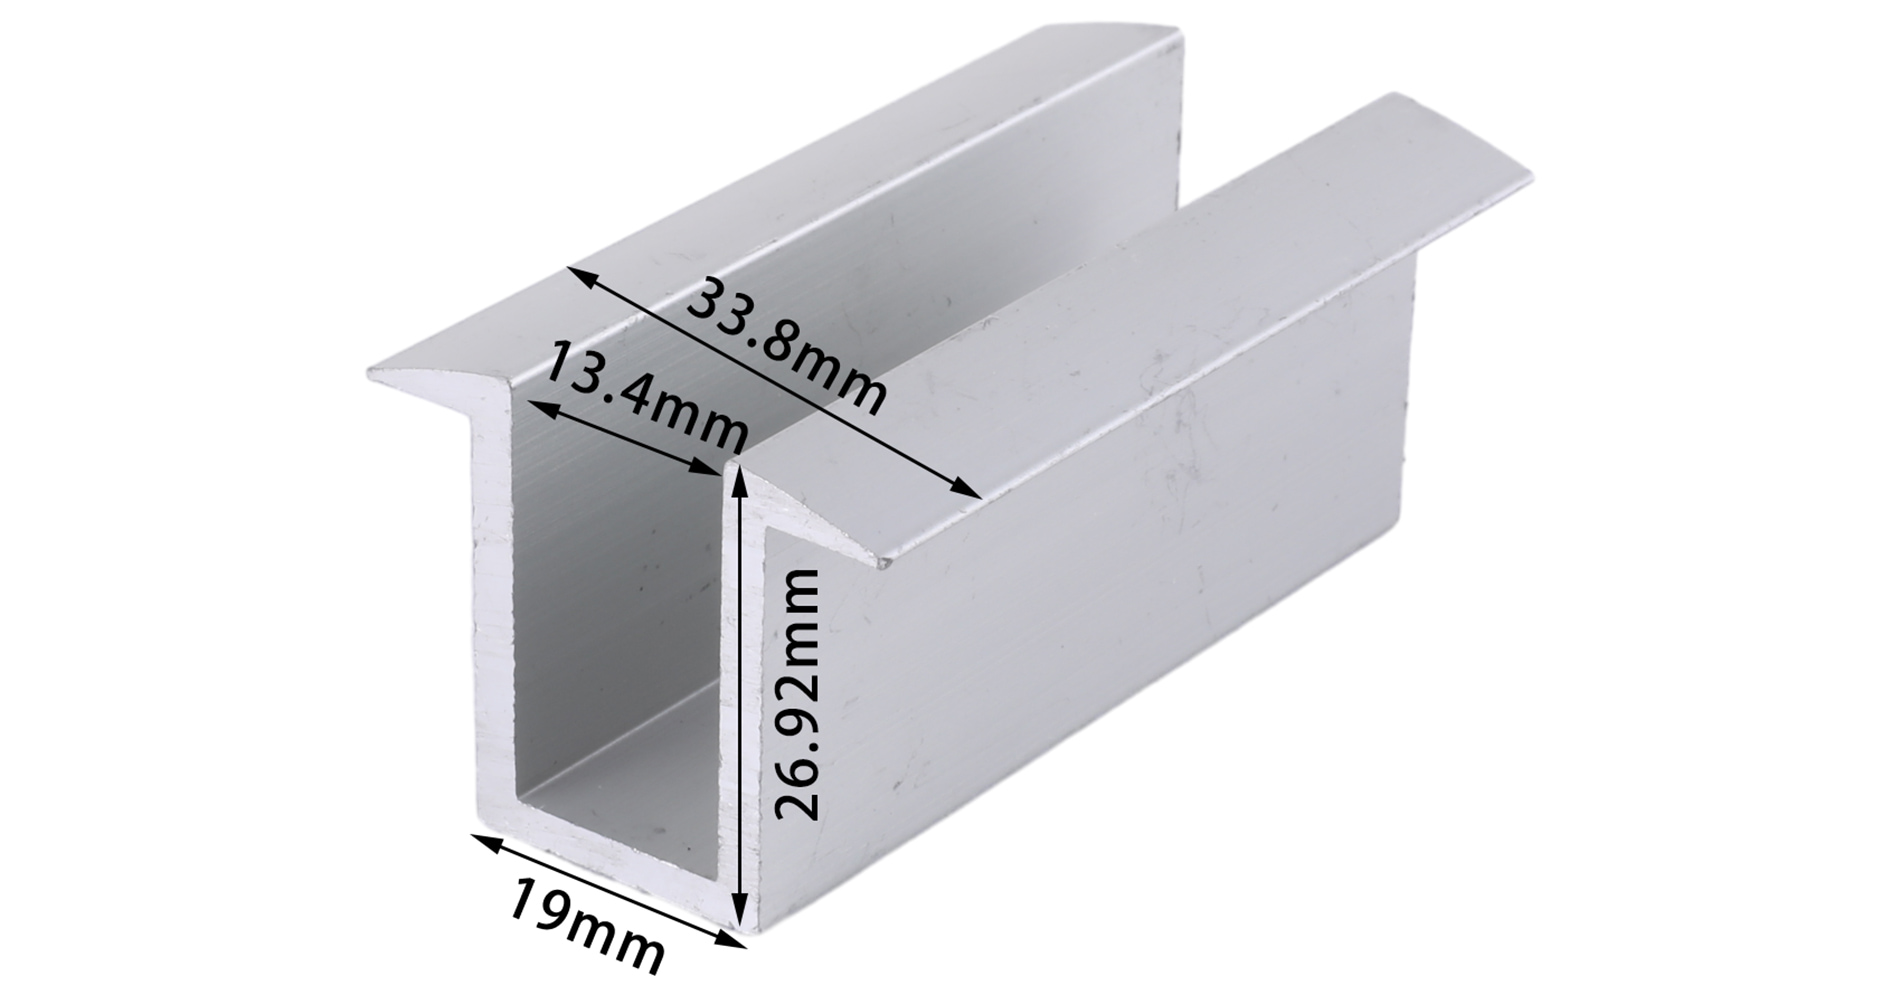
solar mid clamp

Parameter (Specification)

Item NO.

Installation Site

Material

Wind Load

Snow Load

Color

Warranty

SIC-IC-W

Roof or Ground

AL6005-T5 &SUS304

<60M/S 

<1.4KN/M²

Natural or Customized

10 years and 25 years service time

Installation Process:

  • First Solar Panel: Start by placing the first solar module on the mounting rails—secure its outer edge with a compatible end clamp, like locking in a piece of a puzzle.
  • Position the Mid Clamp: Now, slide the Aluminum Solar Mounting Mid Clamp onto the rail, right next to that installed panel’s edge.
  • Install the Adjacent Panel: Next, bring in the second solar module—make sure its frame fits snugly against the mid clamp, like a perfect handshake.
  • Check Panel Alignment: Time for a little adjustment—ensure the panels are aligned and that the gap between them is just right.
  • Tighten the Fastener: Lock it down! Tighten that bolt according to the manufacturer's torque specs—don’t skimp on this step.
  • Continue the Installation: Rinse and repeat for the rest of the solar modules along the rail.
  • Final Inspection: Do a thorough check—inspect all mid clamps, bolts, and panel alignments to ensure the entire PV array is securely in place.

Maintenance Recommendations:

  • Keep an eye on those mid clamps and fasteners during your routine maintenance checks.
  • After a storm or strong winds, give those bolts a little love—make sure they’re tight.
  • Look out for any signs of wear and tear—corrosion, cracks, or deformation.
  • And hey, don’t forget to check that the panel spacing and alignment are still on point.
  • If you spot any damaged clamps or fasteners, replace them without delay.
  • Lastly, keep that mounting structure clean and accessible—because a little upkeep goes a long way.

Installation Display

mid clamp for solar panels

Details

easy install solar mid clamp

Package

We use Aluminum Solar Mounting Mid Clamp standard packaging and shipping methods. However, if you have specific packaging requirements, we can coordinate with the factory to package and ship the product according to your specifications.

Solar Bracket Package

Hot Tags: Aluminum Solar Mounting Mid Clamp
Send Inquiry
Contact Info
If you have any enquiry about quotation or cooperation, please feel free to email or use the following inquiry form. Our sales representative will contact you within 24 hours.
X
We use cookies to offer you a better browsing experience, analyze site traffic and personalize content. By using this site, you agree to our use of cookies.Privacy Policy
RejectAccept